1 x cake marzipanned and covered with white sugarpaste, instructions on how to here
Green, white and red sugarpaste
Round fluted cutter
Edible red glitter
Steak knife
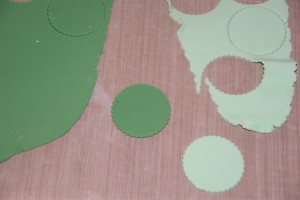
To create the two shades of green, take equal amounts of the green and white and knead together until fully combined. You should now have a dark green and a complementary paler green.
Roll out both shades on your worksurface lightly dusted with icing sugar. Cut out several small fluted circles from each colour.
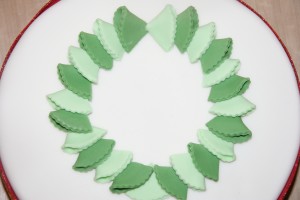
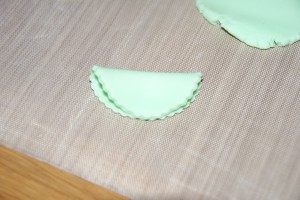
Fold the circles in half, keeping the dusty bottom to the inside and the nice smooth side facing outwards.
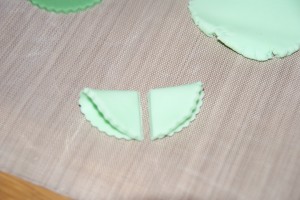
Cut each into half so you know have small pieces.
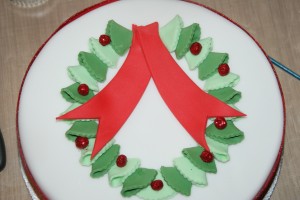
Mark a circle with small pin pricks onto the top of the cake to act as a guide when positioning the holly wreath. You can do this with a large circular cutter or with something just about the right side to guide you – alternatively go free form and judge it by eye.
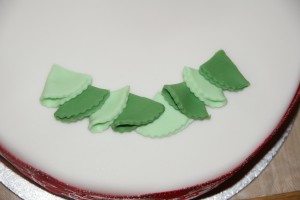
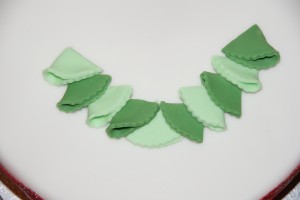
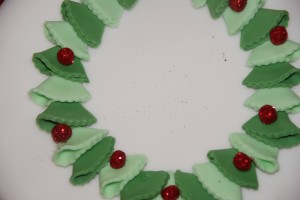
Starting at the bottom of the wreath apply a brush of water around the circle to stick the leaves in place and then add more and more pieces in alternating colours until you reach the top.
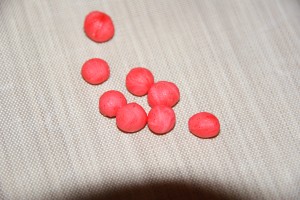
 The glittery berries are made by rolling small berry sized balls of red sugarpaste. For the sparkly smear a little trex (vegetable fat) over the palm of your hand and roll the ball again so it has a soft sheen.
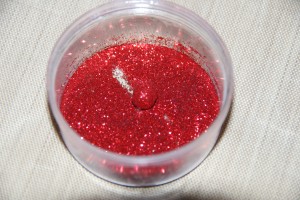
Drop the berry into a small dish containing a little of the red glitter and swirl it around to coat fully.
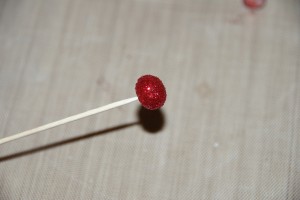
Spear the berry with the end of a cocktail stick to lift it out (in an attempt not to cover yourself completely with the edible glitter).
Apply a brush of water where you will place the berry and release the glittery ball from the end of the stick into position.
To make the bow first knead the red sugarpaste until it is nice and pliable. If it’s too firm then the bow will crack and you’ll have to start over! 🙁
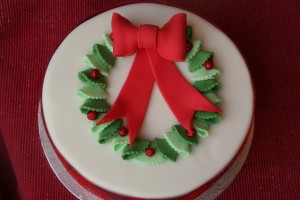
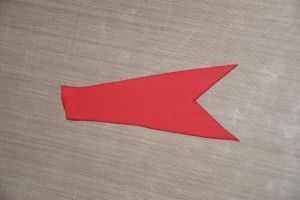
Roll it out nice and thinly on the worksurface lightly dusted with icing sugar or cornflour to stop it sticking and cut two ribbon tails. A dab of water at the top of the wreath and then position both tails in place.
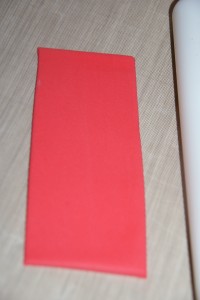
Now on to the actual bow. Roll out more red sugarpaste and cut into a long rectangle – the width will the the finished widest width of the bow.
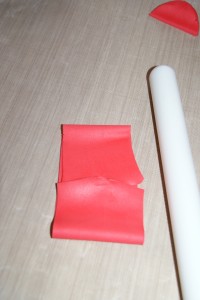
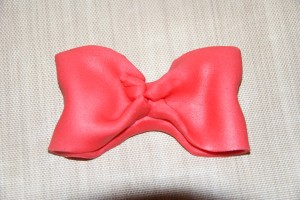
Fold each end of the strip into the middle.
Pinch together lightly in the middle and use your fingers to shape gently. Make sure it is free from the worksurface and not stuck.
It may take you a couple of attempts to get the size of bow you’re aiming for, sorry it’s all part of process!
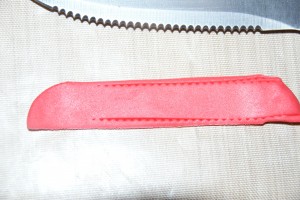
Roll out more red and this time cut a thin strip for the middle. Mark on the stitching lines with the blade of a steak knife.
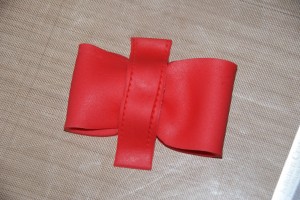
Drape this piece over the centre of the bow and wrap it carefully around the back.
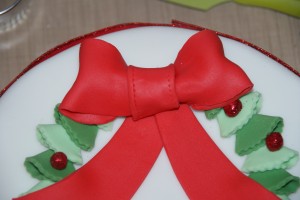
Finally a dab of water on the top of the two tails and lift your beautiful bow into position and secure.
Ta da – Holly Wreath Cake done!
Equipment: It’s all about using the cutters and bits and pieces you have at home, so adapt the design to suit what you have.
Lakeland stock ready coloured sugarpaste in Christmas colours or you could colour your own using gel paste colours.
Here are some links to the kit on Amazon/The Pink Whisk Shop
Round Fluted Cutters – Graduated Set
Ruth Clemens, Baker Extraordinaire












Pingback: Stars and Sparkle Christmas Tree Cake | Baking, Recipes and Tutorials - The Pink Whisk