The possibilities are endless. Here are my tips for cutting, working and applying sugarveil to your cakes.
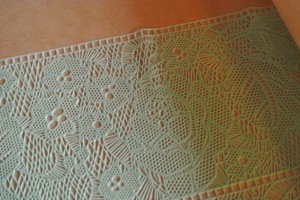
So you now have a sheet of Sugarveil and you want to use it on a cake.
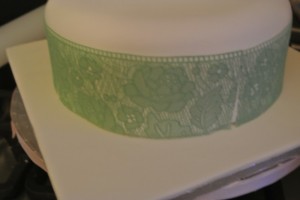
Plan out your design, for simplicity I’m wrapping the collar of a cake with Sugarveil.
I have an 8″ cake that is already covered with sugarpaste set on it’s own cake board. Applying Sugarveil is easiest to a cake that has already been covered and dried out for 24 hours so that the surface of the sugarpaste is dry.
One sheet of Sugarveil is 35cm long so the only cake you could wrap it around in one complete piece is a 4″ cake (tidgy tiny)
I have found it best to draw up a design that makes uses of 4 or 2 equal size pieces, dividing the cakes circumference into quarters or halves but you will need a design element to cover the joins.
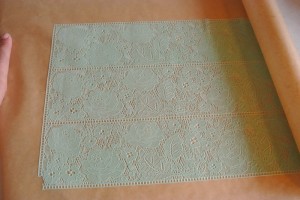
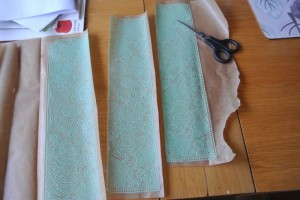
Firstly the sheet needs to be split into the three strips. Make sure you have the sheet the right side up – the wrong side is flat and also the right way up for the pattern, you need to keep the top square border on each strip.
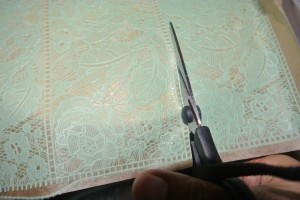
Using a sharp pair of scissors trim the sheet into the three strips. Because it’s still flexible the Sugarveil is still soft and can stick to the scissors if you aren’t careful. Cut through the Sugarveil and the greaseproof paper to trim.
Take care not to touch the Sugarveil too much with your fingers as the heat will make the sheet sticky.
So you have three pieces and now you need to plan the pieces you need for the cake.
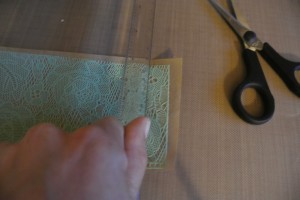
Cut them to length first. Marking out the size on the greaseproof paper below the Sugarveil will help. Using a plastic ruler you can press and indent a line where you want to cut and then trim with the scissors as before.
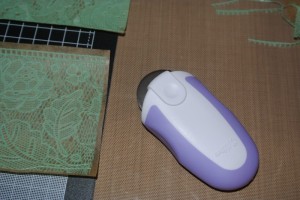
A roller cutter, is also a real help here – use a metal ruler for roller cutting.
Wilton Rotary Cutter – Amazon £6.93
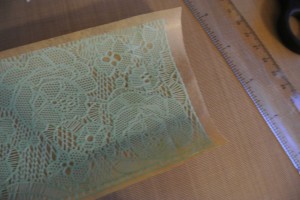
Measure the depth you want for the size of the cake and trim to the right size.
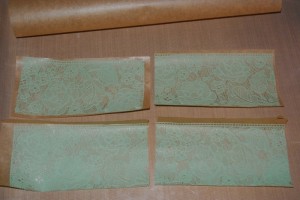
So now I have four pieces the right size for my cake.
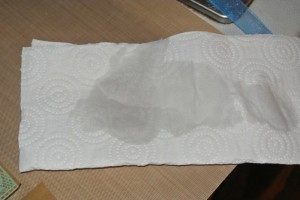
Very lightly dampen a piece of kitchen towel. You want to barely be able to feel the moisture on it.
Start with either the back or front section. Very lightly press the damp kitchen towel on the side of the cake. It will pick up the moisture from the towel, you would barely feel it with your hand if you touched the cake and you can’t see it but it’s enough to stick the Sugarveil tight. Too much and it will dissolve the Sugarveil once its applied.
Sugarveil will start to stretch if you handle it too much so try to minimise the time spent holding and positioning, trying not to pull it.
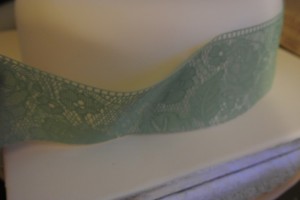
Now keeping the top edge straight, positioning it dead centre of the section you are covering place the Sugarveil piece onto the cake. Gently and slowly. Once it’s stuck fully there’s no chance of getting it off so if you start to go on skew whiff back track quickly.
Smooth the Sugarveil piece down with your fingers. If it overlaps the bottom of the cake onto the board slightly trim it away neatly with the scissors.
If it’s not quite stuck at the edges, lift them lightly, press the damp kitchen towel onto the cake and smooth the Sugarveil back down.
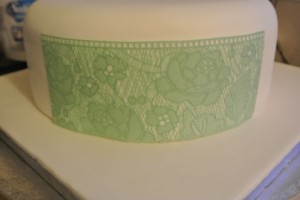
Work your way around the cake securing the panels of Sugarveil, trying to be as neat as you can at the joins and keeping the top edge straight.
There we go Sugarveil onto cake!
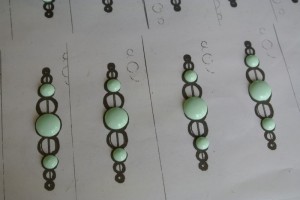
You can design any sort of element to cover the joins but I’ve used a piped royal icing design.
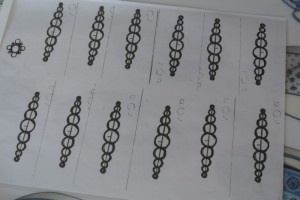
I’ve drawn it out onto a piece of paper and then repeated it several times. When using something like this it’s far better to make more than you need as there’s bound to be breakage!
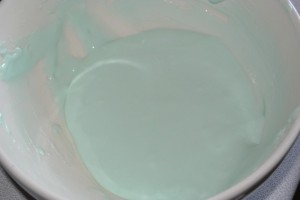
Mix up some royal icing and then colour it your chosen colour using a gel paste colour.
I start with a thick royal icing and then let it down with a couple of drops of water at a time until it flows. You’ll need to spend a bit of time getting the consistency just right. It needs to flow gently so that any marks flow back down into the piped bulb so that it doesn’t keep it’s peak but still needs to be firm enough to hold the round bulb shape.
Lay a sheet of acetate over the paper guide or pop it into a plastic document wallet.
You will need a no.2 piping nozzle fitted to a piping bag.
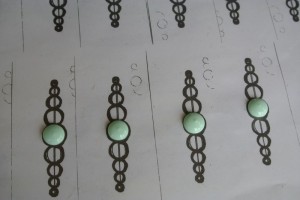
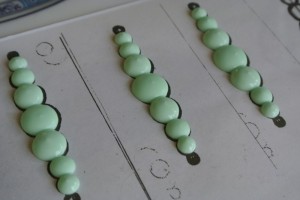
Fill the bag with your royal icing and pipe the central bulb. Hold the bag upright about 1cm above the guide and squeeze gently until the icing just fills the guide. Remember it will flow out slightly.
Pipe all the central bulbs and then work on every other one, missing out the one next to the centre.
Pipe in the bulbs until all the alternate ones are filled. Set them to one side to dry slightly, they will soon form a shell. If you piped them all together they merge into one another and don’t give you a defined bulb outline.
Once they have shelled over fill in the missing alternate bulbs.
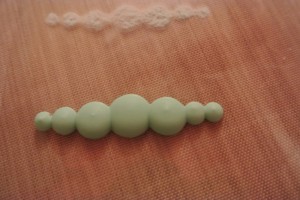
Now they need to dry completely – bank on 24 hours. You can put them under a lamp if you need the process speeding up a bit.
Once fully dry they should just pop straight off the acetate or plastic sheet. If they don’t then they haven’t dried through fully so go carefully when testing if they’re done.
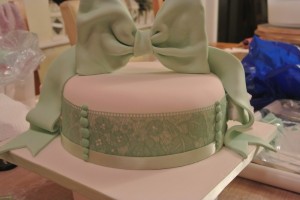
A little bit of royal icing to the backs and then secure into position on the cake to cover the joins. I’ve put mine over the ribbon around the base, because I think they look pretty like that!
Now whilst we’re at it I’ll show you how to make a huge bow and ribbon topper….
Ruth Clemens, Baker Extraordinaire
