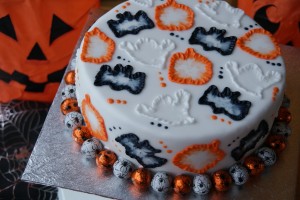
I thought I’d throw in a decorated Halloween cake to the projects pot this year using a really simple but effective cake decorating technique – brushed royal icing.
If you’d like to have a go at this cake at home (and it’s not half as tricky as it looks) you will need:
Cake – use whichever kind of cake you like, I’m using chocolate as it will look great against the white when it’s cut into. Here’s the recipe
Ingredients:
165g butter, softened
300g caster sugar
3 eggs, large
200g plain flour
60g self raising flour
1 tsp bicarbonate of soda
70g cocoa powder
220ml milk combined with 2 tbsps vinegar
The method for this cake is here. Split the mixture between two 7″ sandwich tins greased and base lined, baked at 160c (fan)/180c/Gas Mark 4 for 35-40 minutes. Cool in the tins.
White sugarpaste – 1kg packet
Cake board or plate
Halloween cutters (or not if you can draw!)
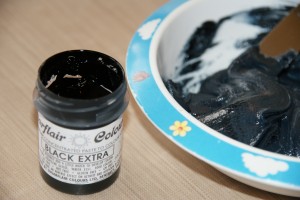
Royal icing – white, black and orange (click on the colours for Amazon links to the Sugarflair gel paste colourings)
A little water and a paintbrush
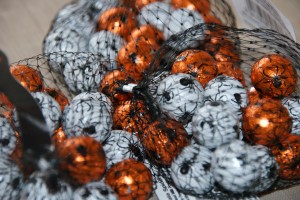
Chocolate foil covered Halloween chocolates (3 nets needed for an 8″ cake)
Follow the steps here to level, fill and cover the cake with white sugarpaste and set it onto a cake card or plate.
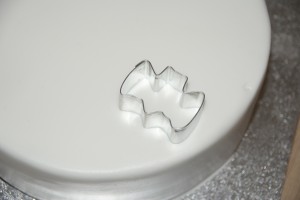
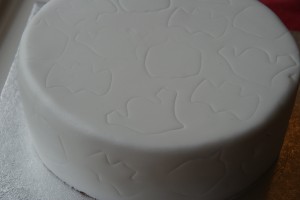
While the sugarpaste is still soft imprint the surface gently with the cutters. I’m using cutters because I can’t draw freehand! This set is from Lakeland (and no I don’t have shares in them, although I should) but use what you can get hold of and adapt the design/colours to suit, you could even make your own card templates and then mark around them very gently.
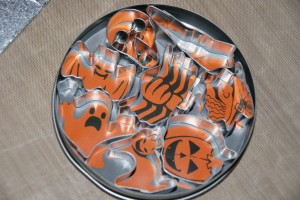
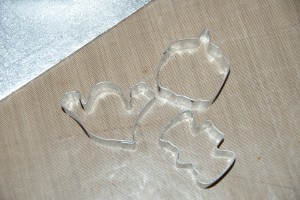 Imprint the top in a random design and then imprint around the outside edge. Press gently you don’t want to cut through the sugarpaste, just to leave a mark to guide you in the next steps.
Leave the cake to allow the sugarpaste to dry overnight. Once it has firmed up then it’s ready for the next step.
Mix up some royal icing – you want it a fairly firm consistency so that you can pipe it. Divide it into three portions, colour one orange, one black and leave the last white.
Add them to a piping bag or squeezy decorators bottle. I’m not using piping tips just cutting off the ends of disposable bags will do.
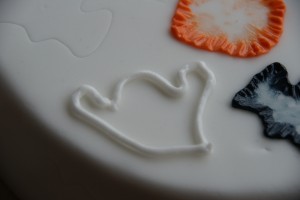
Starting with one colour – for me it’s white for the ghosts. Pipe roughly around one of the imprints you made earlier. I do mean roughly, just follow the outline – wiggly is okay too!
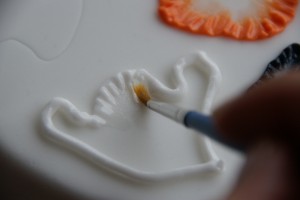
Take your paint brush and dip it in a little water.
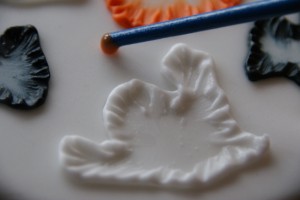
Start to brush the royal icing gently inwards working your way around the piped outline. You will need to keep dipping your brush back into the water as it dries out.
Carry on piping and brushing all of the outlines until you have completed the top.
Now set to work on the sides. Piping on the side of a cake is harder to do so work slowly, but don’t worry about neatness, the brushing turns rough piping into something lovely (or spooky!)
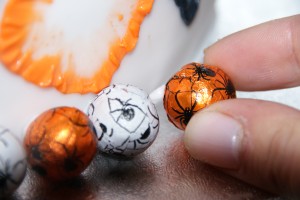
Once all the spooky shapes are piped and brushed allow the royal icing to dry. Take the foiled chocolate balls and secure around the base of the cake with a little dot of icing to hold them in place. If you prefer then the cake can be trimmed with ribbon instead.
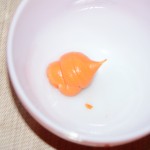
To create the dots take a little of the orange royal icing and place it into a small bowl, add a couple of drops of water to loosen the consistency.
Dip the wrong end of the paintbrush into the icing and dot onto the top of the cake in random spots! Repeat with the black royal icing.
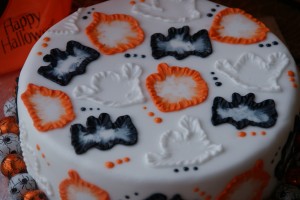 Fabulous – Spooky Spectacular Halloween Cake ready to serve!
Ruth Clemens, Baker Extraordinaire
 " width="477" height="261" border="0">

















8 Responses to Spooky Spectacular Halloween Cake