 " width="477" height="261" border="0">
  You know from my last post I wasn’t going to blog these, but so many of you asked how to do them so here’s the how to…!
You will need:
1 x batch of round biscuits – recipe here
1 x batch of glaze icing – recipe here
Disposable Piping Bags fitted with No.3 Piping Nozzles
(Equipment links to The Pink Whisk Shop)
The icing batch will decorate fully 20 biscuits but make sure you have some spare for practising on first before you go onto the ‘real’ ones!
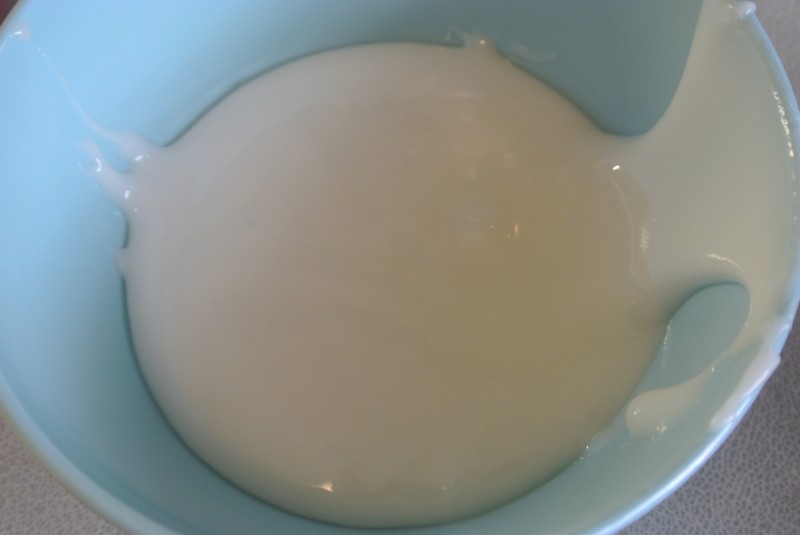
Divide your glaze icing into smaller portions ready for colouring. It’s best just to take out a portion at a time for colouring and piping bagging, if you spread it over lots of bowls at this point it will start to crust over in the time it takes to work your way through, which will ruin your icing for piping and flooding.
Using the gel paste colours, colour one portion a deep pink, I added a tiny bit of red too to get the richness into the pink.
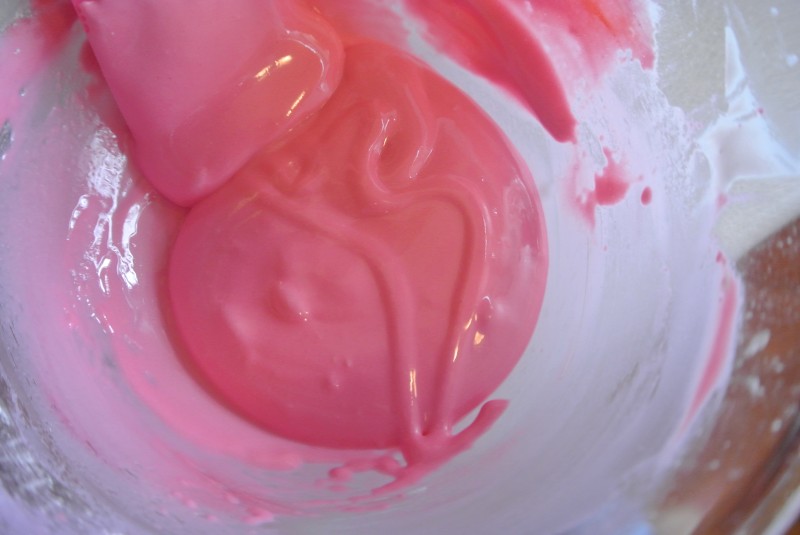
Important! Check the consistency of your glaze icing after colouring as per the glaze recipe instructions, lift out a trail and count how long it takes to sink back in completely. You’re aiming for 10 seconds, not over not under. Adjust the consistency using a pinch more icing sugar or a drop of water before transferring it to your piping bag.
Add the glaze to a piping bag fitted with a no. 3 nozzle.
Set a small damp cloth into the base of a jug and set the filled piping bag tip down onto the cloth. This stops the icing from drying out until you’re ready to work with it.
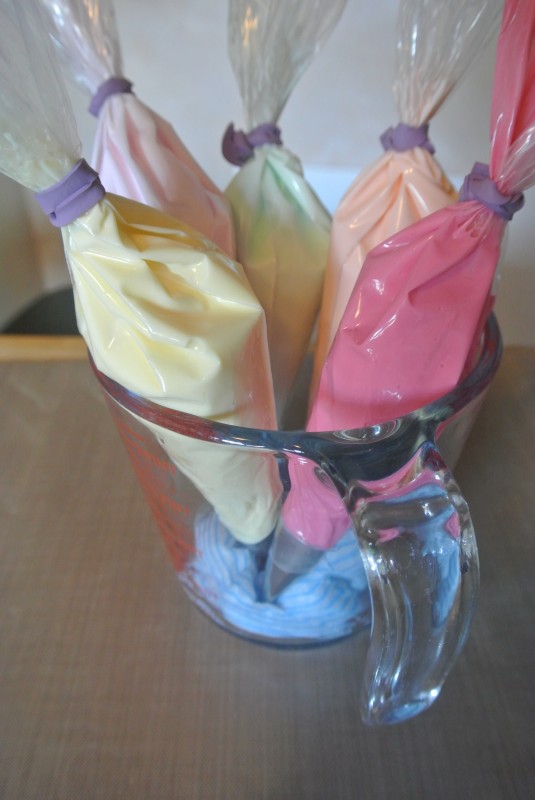
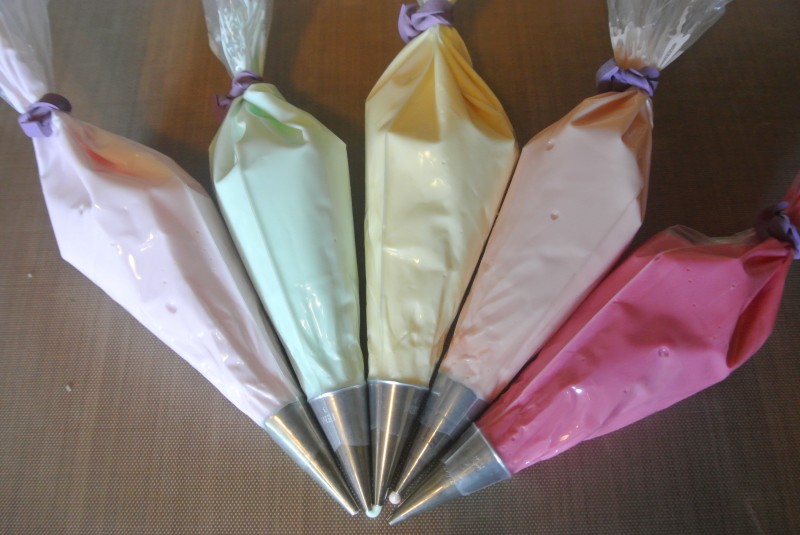
Repeat colouring portions of glaze for the colours of your Love Hearts, the variety of colours you go for is entirely up to you but you will need a no.3 piping tip for each. If you vary the tip sizes then they won’t match up to the pink central heart and the flood will wash over the pink. Only add a tiny bit of gel paste colouring at a time, you want to stick with pastel shades, you can always add more but you can’t take it away!
So they’re all in bags, ready to go!
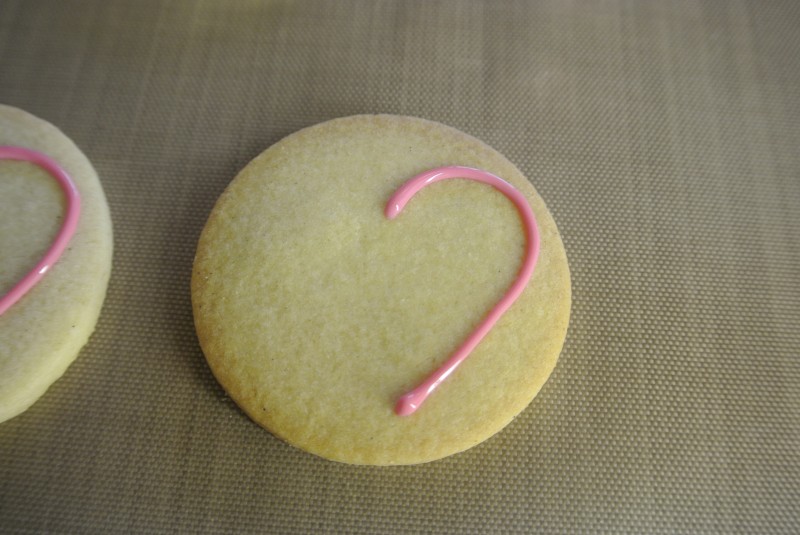
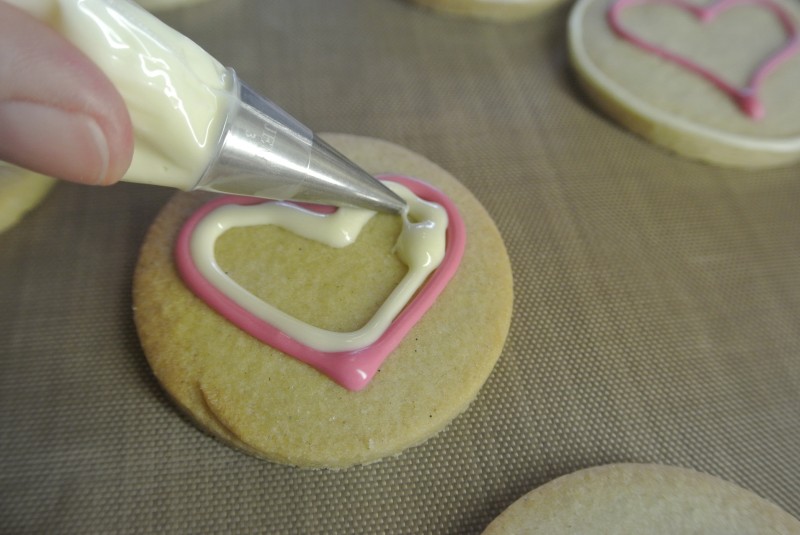
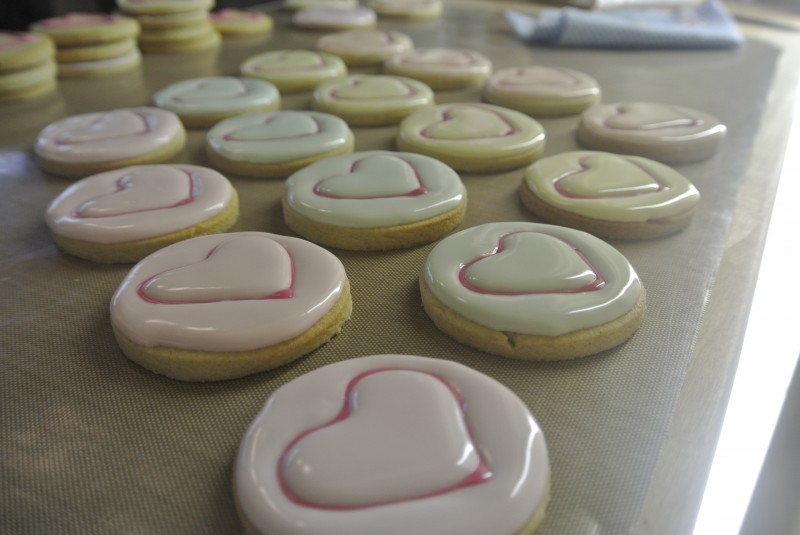
Line up the biscuits and pipe a pink heart onto each.
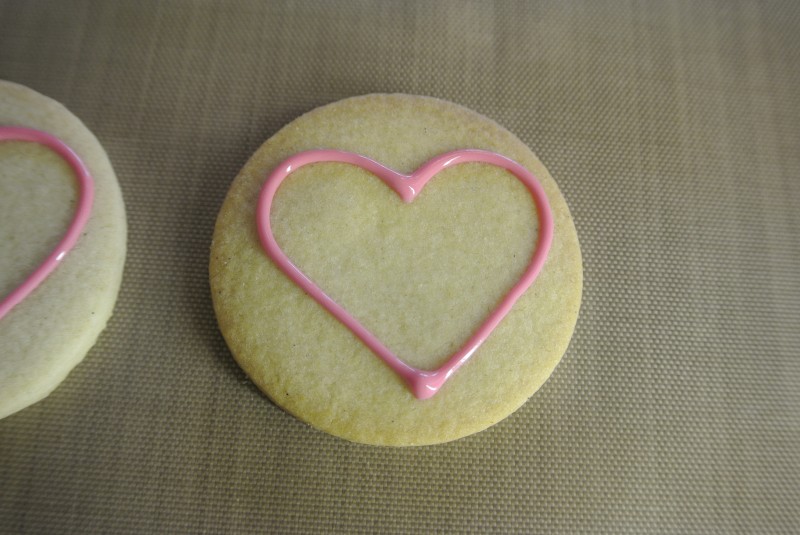
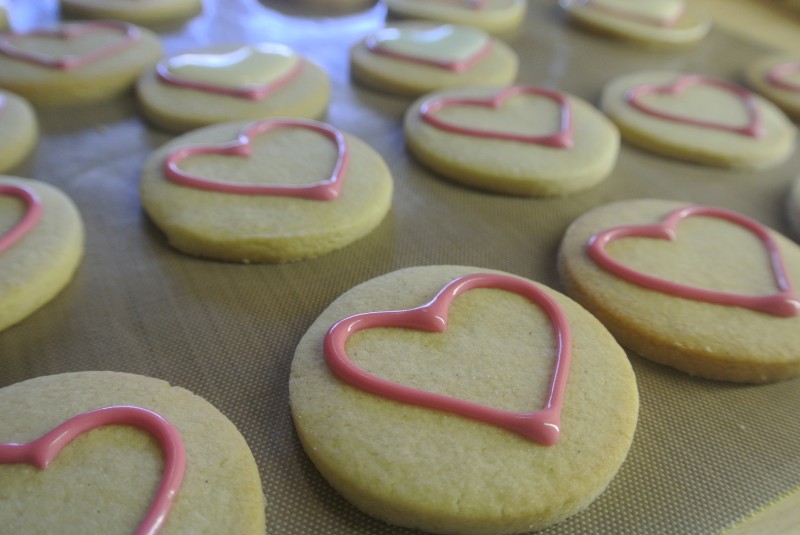
Set them aside to dry for 30 minutes.
Working with one colour love heart at a time line up 3 biscuits.
Pipe a line around the inside of the pink heart on each biscuit, don’t worry if it’s not super neat, little gaps here and there are no biggy!

By the time you’ve done all 3 they will have set off for a minute or so and they’re ready to flood.
Using the exact same icing from the piping bag (which is why I love glaze so much) begin to infill the central heart, working backwards and forwards across the heart. As you get to the outline you can use the glaze to push the line slightly to meet the pink heart if there was a little gap there.
If you have your consistency spot on at 10 seconds this icing will smooth over and level all by itself. If it doesn’t quite meet the outline in little spots just drop an extra dot into the right area to sort it out!
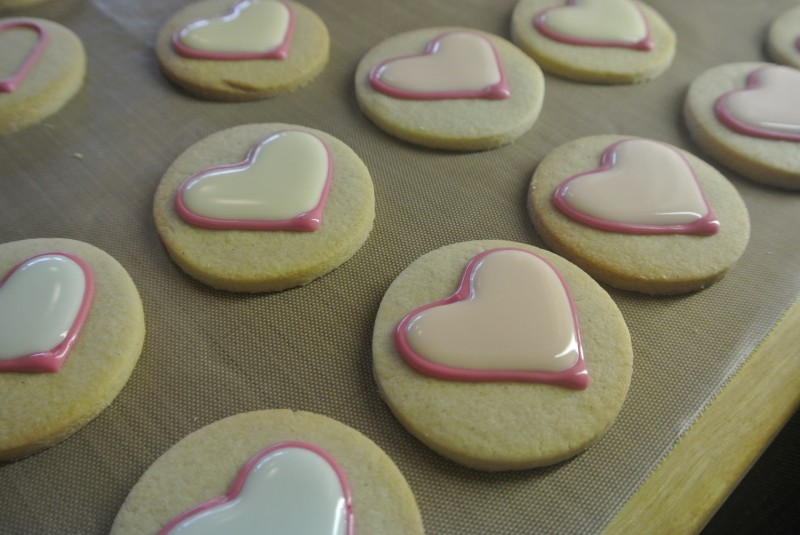
Heart flooded, repeat flooding the other two biscuits you’re working on.
Lift each biscuit a couple of times and gently drop it back down onto the surface, this helps pop out any air bubbles which would rise to the surface as the glaze dries.
Work your way through all the biscuits in batches of 3 or 4.
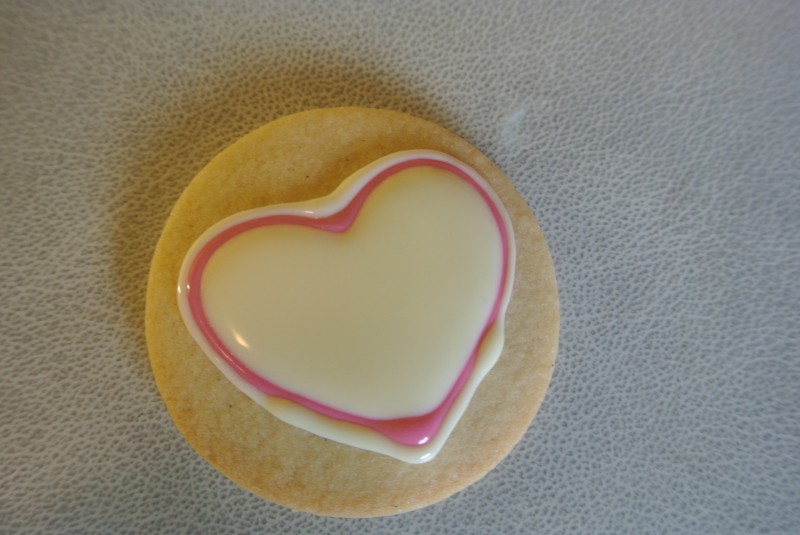
Set the biscuits aside for 30 minutes to allow the central heart to start to set off before doing any more to each biscuit.
Now for the outer section.
In the relevant colour for each biscuit pipe a line around the central pink heart.
Then pipe a circle around the biscuit, staying just inside the outside edge. As you get to joining up the circle take the line of piping directly over the start and finish off just inside the circle. This will stop you from getting a bump on the circle.
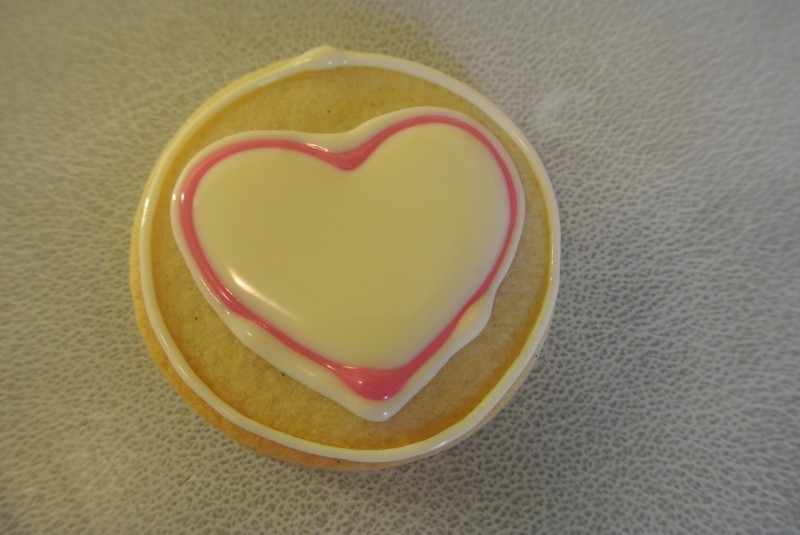
Let it dry off for 1 minute and then fill in, as before working back and forth between the heart outline and the outer edge.
Give the biscuit a good tap to disperse any air bubbles.
Set aside to dry completely, this usually takes overnight. I set them on a baking tray and then use a upturned tray to cover them over. This stops them from going stale and from any stray bits sticking to the icing.
Be patient – if you go touching to see if they’re setting you’ll get fingerprints in them!
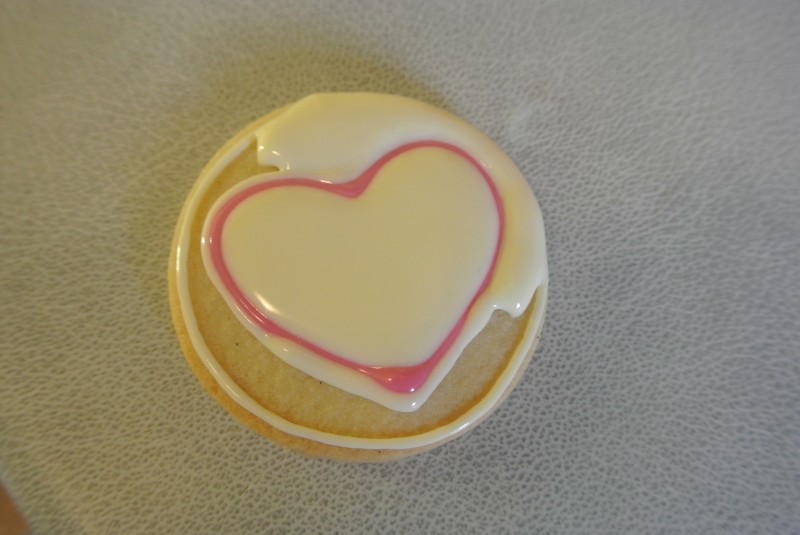
Once the glaze is fully dry simply write on the Love Heart words with the Dusky Pink Icing Pen.
Love Heart Biscuits!

Ruth Clemens, Baker Extraordinaire
Meet me down the aisles of The Pink Whisk Shop – for all sorts of cake decorating and baking delights!


Pingback: She Cooks, She Eats » The Great Pink Bake Off Masterclass