 " width="477" height="261" border="0">
Well once again it’s not quite baking but they are sweet treats, anyone would think my oven is broken! (Don’t worry it isn’t)
The boys love them, hey I love them too – there’s all sorts you can do with them. I’m very rarely making them just for eating straight up, they get moulded into shapes for decorated cakes – for pieces that just wouldn’t hold up in cake, cut out with a cookie cutter, poked onto sticks the list is endless. Whip up a trayful and it’ll be gone in next to no time.
Ingredients:
45g butter
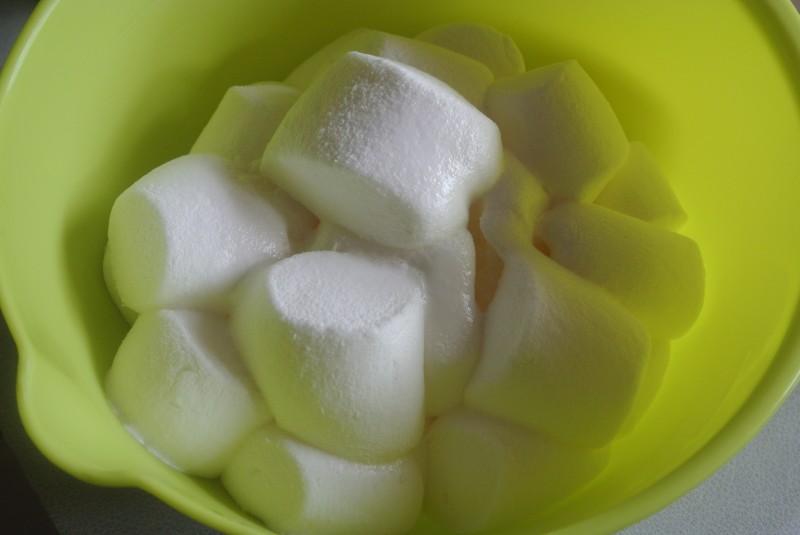
210g marshmallows
150g Rice Krispies
Line an 8″ square baking tray with non-stick paper.
Put the butter and marshmallows in a pan (big enough for you to get all those Rice Krispies in later!)
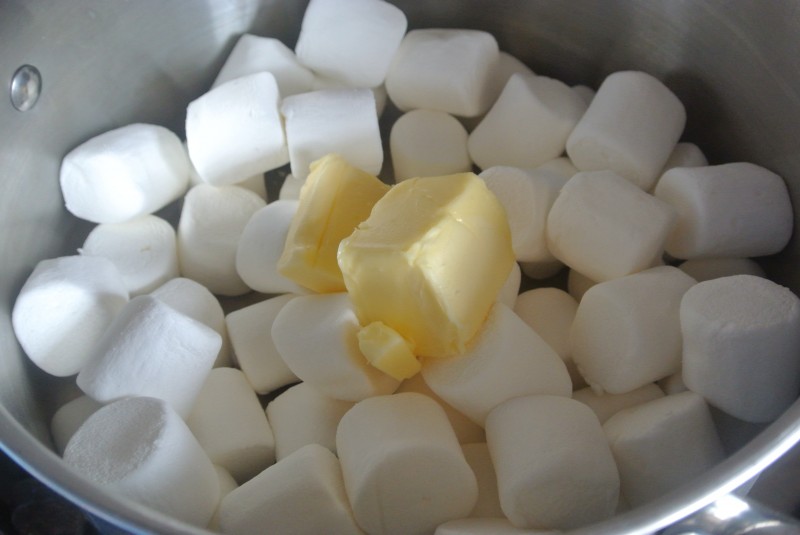
Put the butter in the bottom of the pan, not on top of the marshmallows like I’ve done here – it will stop the marshmallows from getting scorched and burnt.
Heat the pan over a gently heat, stirring it regularly. As the marshmallows melt it starts to look like marshmallow soup.
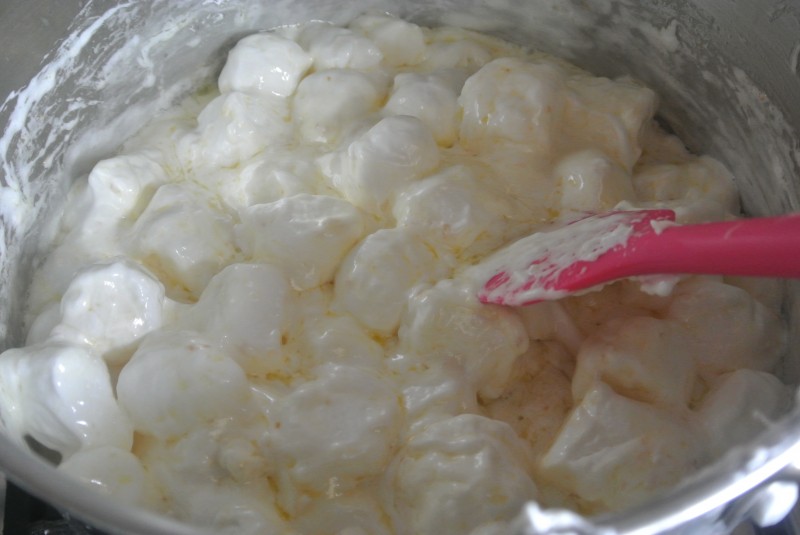
Keep going until they’ve all melted and the butter is well worked in.
Now off the heat and in goes the Rice Krispies.
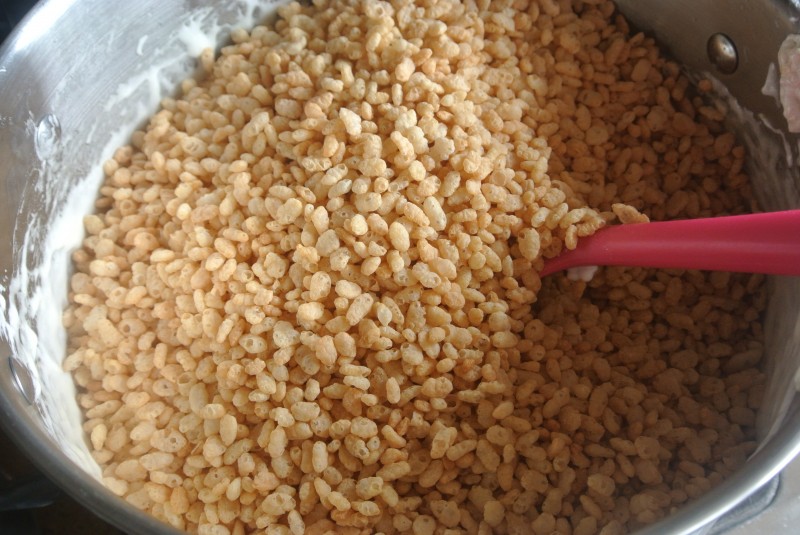
Stir it up, making sure they’re all evenly coated.
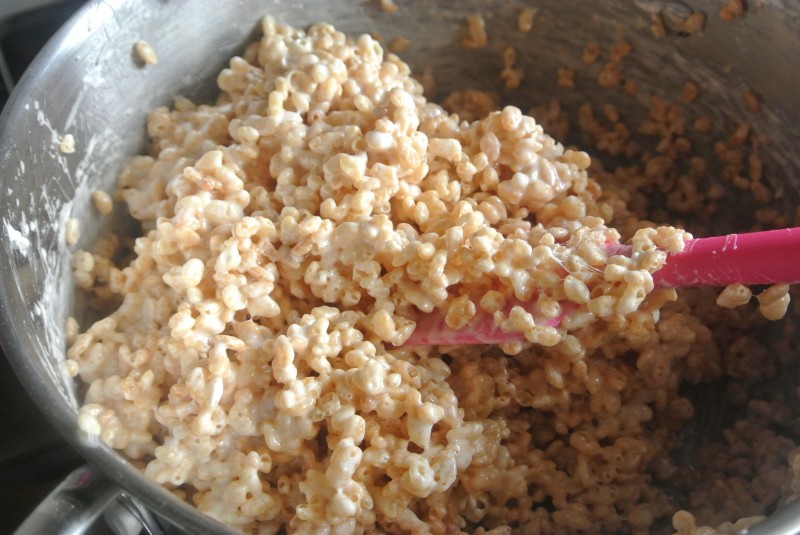
Tip it into the tin – it’s sticky watch out!
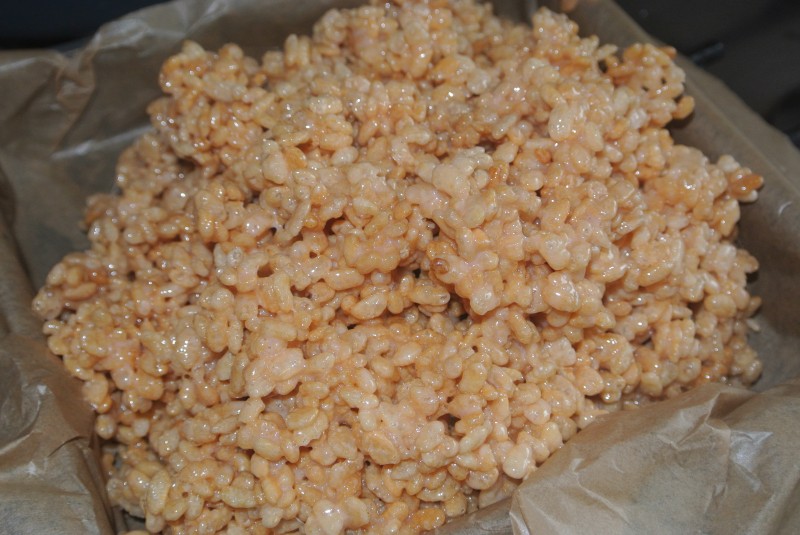
Don’t try and spread it in the tin right away you’ll end up in a right sticky old mess, give it a minute or two to start to cool down.
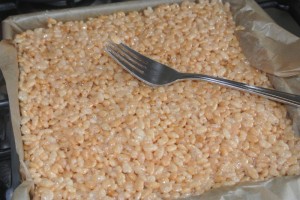
Spread it out using the back of a fork. If the marshmallow coating is still stringy and sticking to the fork let it cool a little more.
Once you can do it without it sticking, spread it and level it out with the fork.
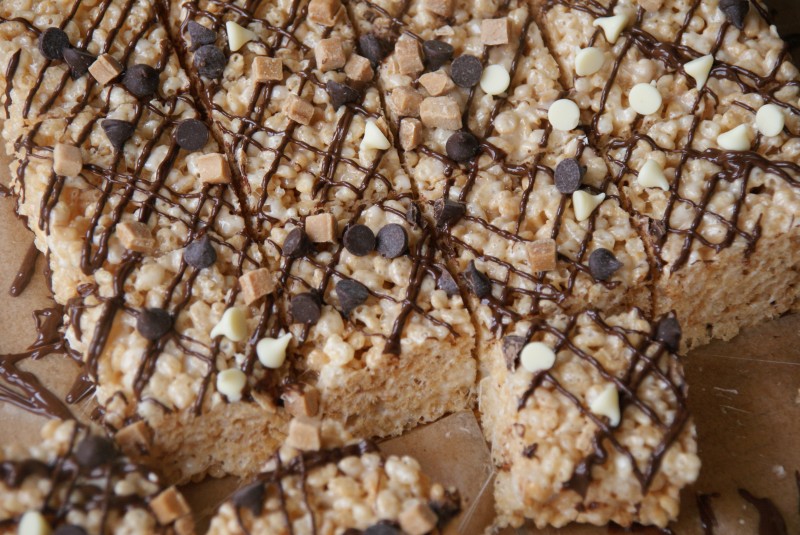
That’s it, leave it to one side to cool fully, decorate with whatever you fancy and set then eat away!
You can….
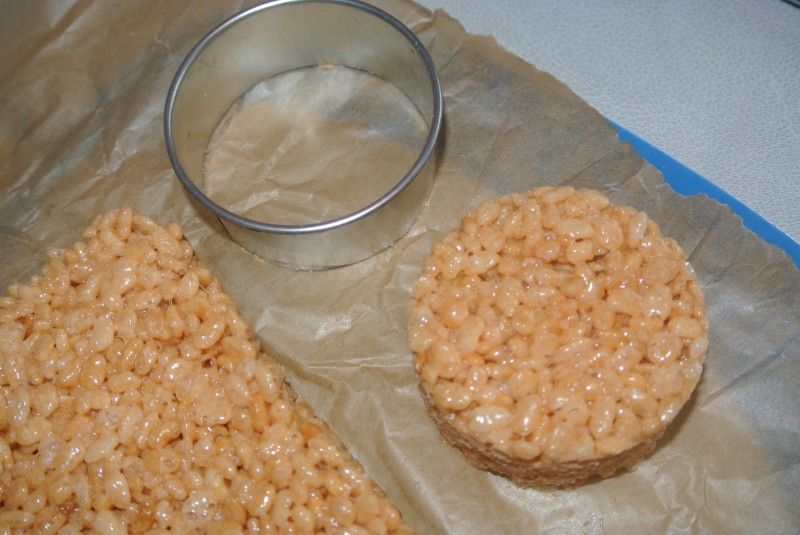
Cut out shapes with a cookie cutter and decorate, even pop them onto sticks as lollies.

Colour the marshmallow soup with food colouring before mixing with the Rice Krispies for coloured versions.
Mould it by hand instead of setting it into a tray for chopping up, let it cool a fair bit and grease your hands to stop it from sticking to you whilst you shape it.
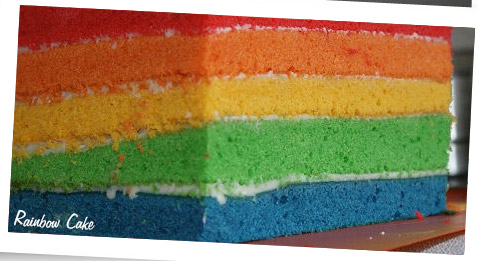
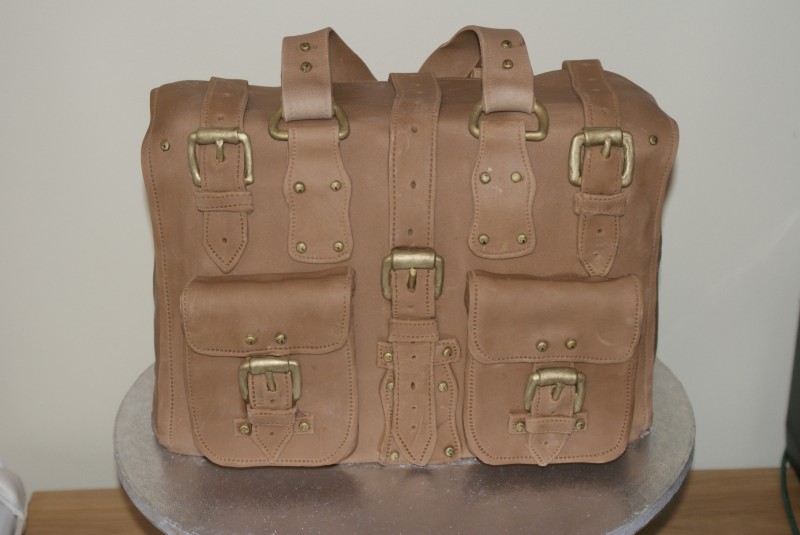
Cut up the set tray and shape it by hand – If you’re making decorated cakes sometimes there are shapes that just won’t hold up in cake – mould it out of Rice Krispie Treats and cover it with sugarpaste. (They make great Tractor and Digger wheels) The front pockets of this cake were made with Rice Krispie treats and then added afterwards, and now is not the time to question why on earth I didn’t cover the blimmin’ board!
White marshmallows aren’t compulsory, you can use pink ones too 😉
Make it in the microwave – 1 minute on full power for the marshmallows and butter until they puff up, good stir and then 30 seconds more before stirring in the Rice Krispies – made in the microwave the Rice Krispie Treats are whiter and chewier (!) when made in the microwave than when made on the hob.
Decorate the top with melted chocolate, chocolate chips, sweeties, all sorts!
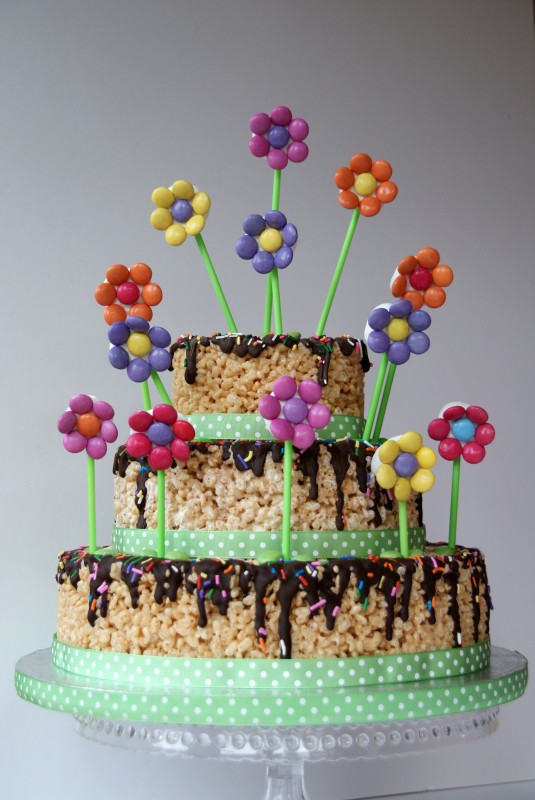
You can also make a full blown 3 tier cake from them – easiest celebration cake ever, post coming up!
However you do it they don’t hang around long!
Marshmallow Rice Krispie Treats

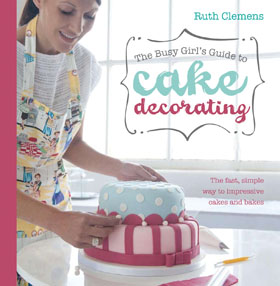
Ruth Clemens, Baker Extraordinaire
Meet me down the aisles of The Pink Whisk Shop – for all sorts of cake decorating and baking delights!


Pingback: Easiest Celebration Cake Ever! | Baking, Recipes and Tutorials - The Pink Whisk
Pingback: A ballerina birthday party. | Behind "Issy Inspired"