 It’s Red Nose Day 2015 this Friday 13th March and the challenge from Comic Relief this year is Make Your Face Funny For Money!
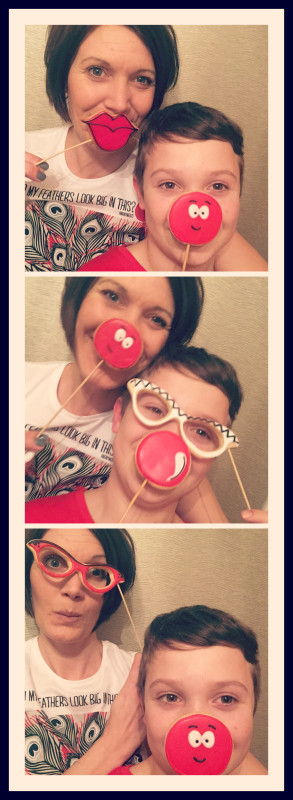
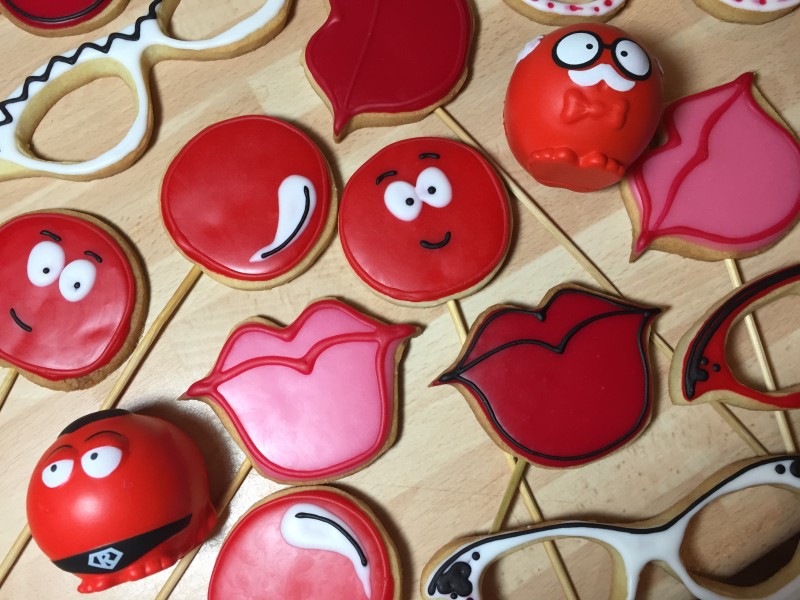
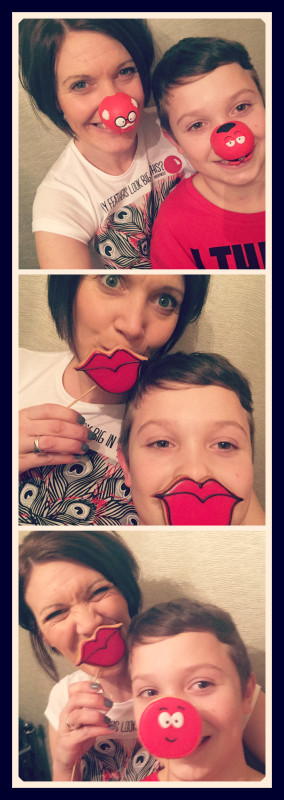
So how about Photo Booth Prop Biscuits? Brilliant fun with a biscuit on a stick, plus the proceeds as always are going to a great cause!
You can find out more about Comic Relief right here but if you fancy giving these a bash and getting your own photo booth session on the go then here’s how!
![]()
You will need:
1 x qty of Biscuit Dough recipe here
Wooden skewers
1 x qty of glaze icing for decorating – recipe here
A round cutter for the nose and templates for lips and glasses right here.
Mix up the biscuit dough as per the instructions.
Preheat the oven to 180c (fan)/200c/Gas Mark 6 and line a couple of trays with non-stick baking paper or a reusable liner.
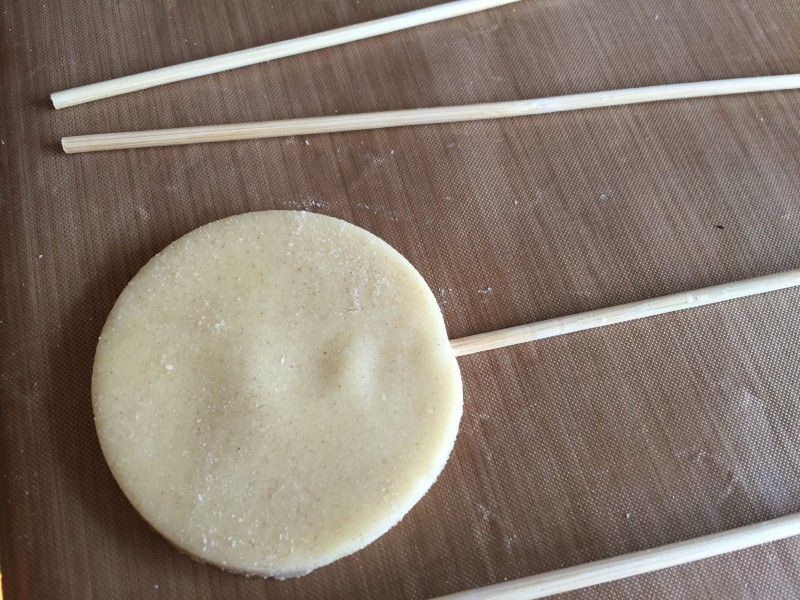
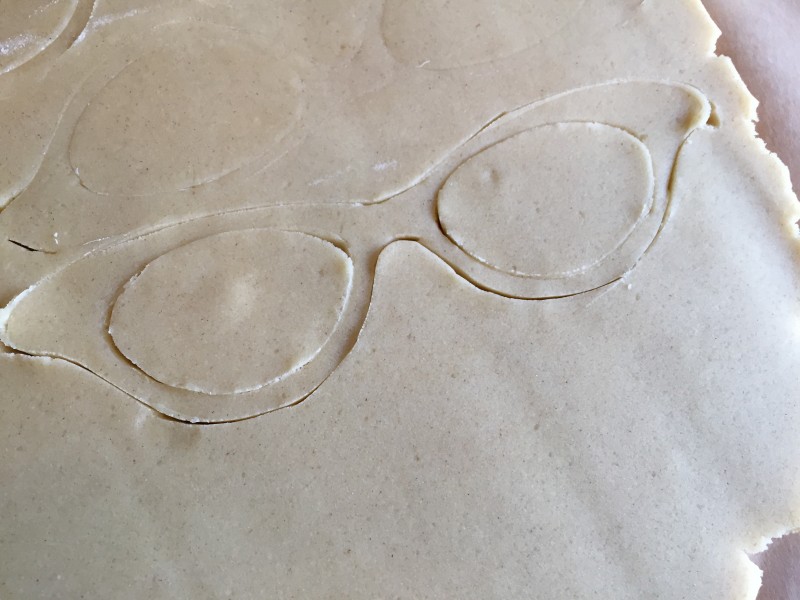
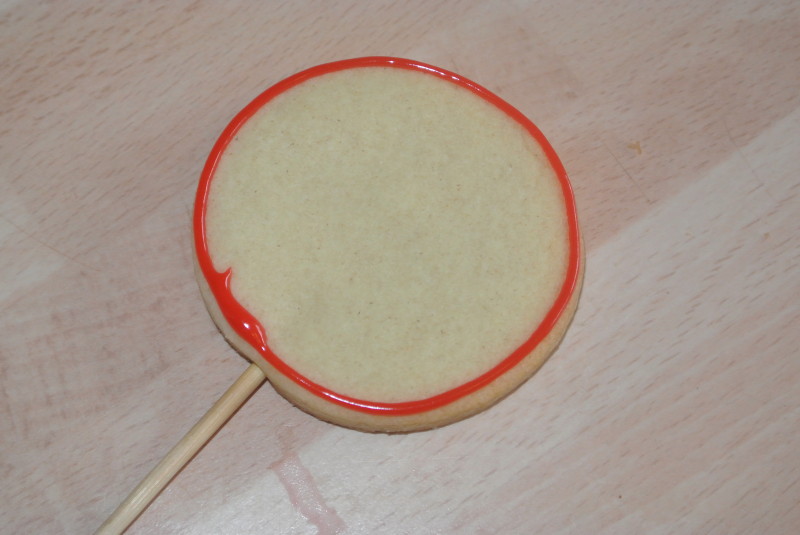
Roll some of the dough out and begin by cutting out the noses with a round cutter. Keep your dough about 0.75cm thick so that you can insert the sticks easily enough.
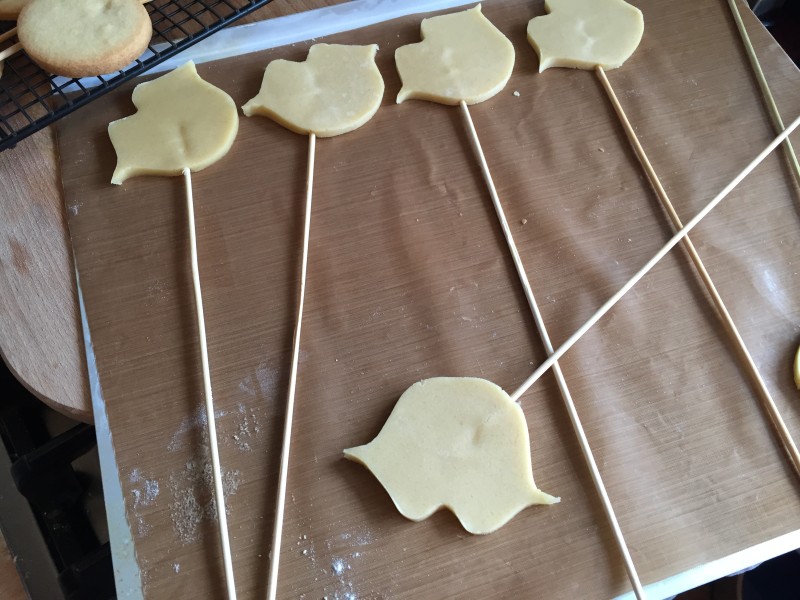
Carefully push the end of the skewer into the centre of the biscuit through the side and set them on to the baking tray.
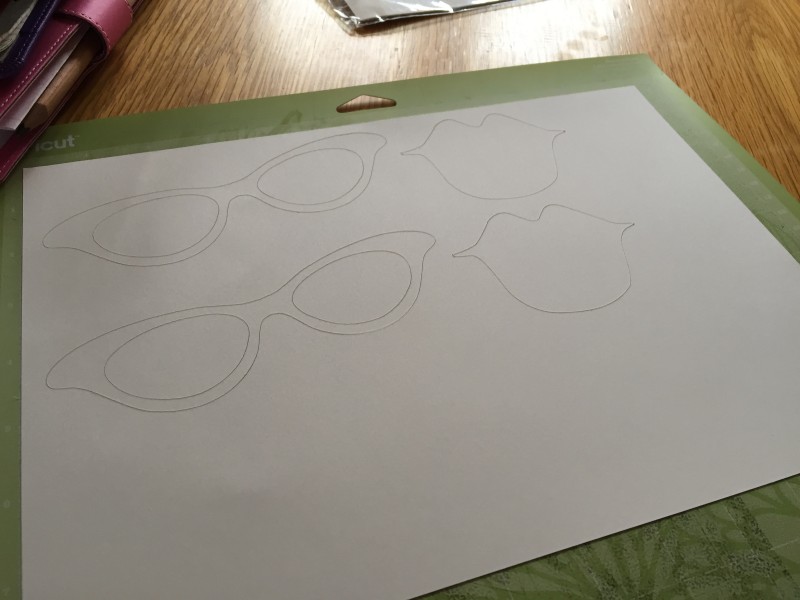
For the lips and glasses cut yourself a template out of card there’s a printable version for you just here. I’m lucky enough to have this to play with currently – a Cricut Explore.
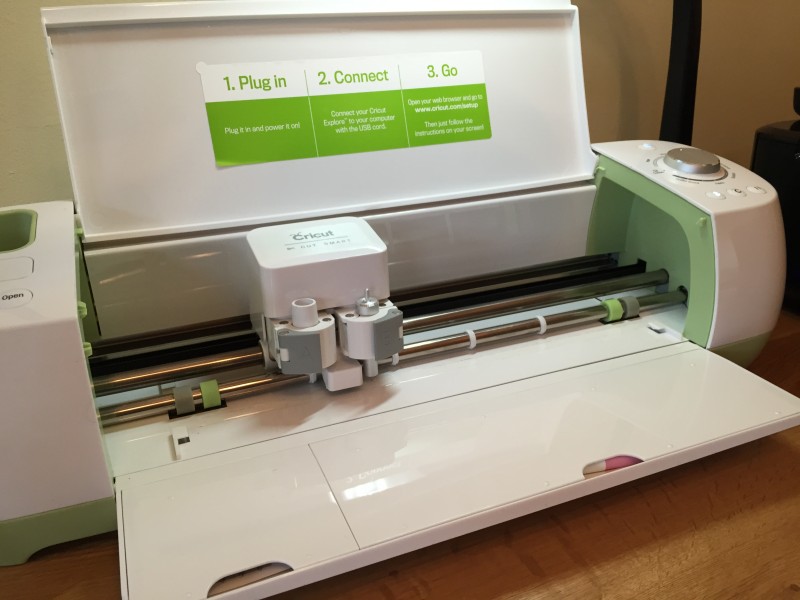
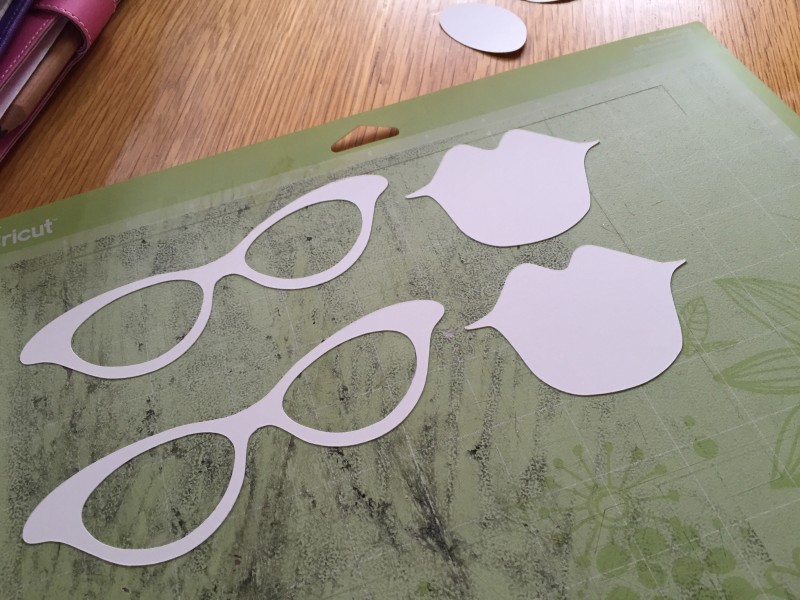
A fantastic machine, like a printer but cuts instead, for papers, cards, vinyl and all sorts of materials. I’ve used it a lot so far in my cake decorating, cutting out templates for letters and shapes that I can then use with modelling paste. Here it’s cut out the glasses and lips template from card for me. Snazzy!
If you’re interested you can find out more and see what else this great bit of kit can do on the Cricut Website just here.
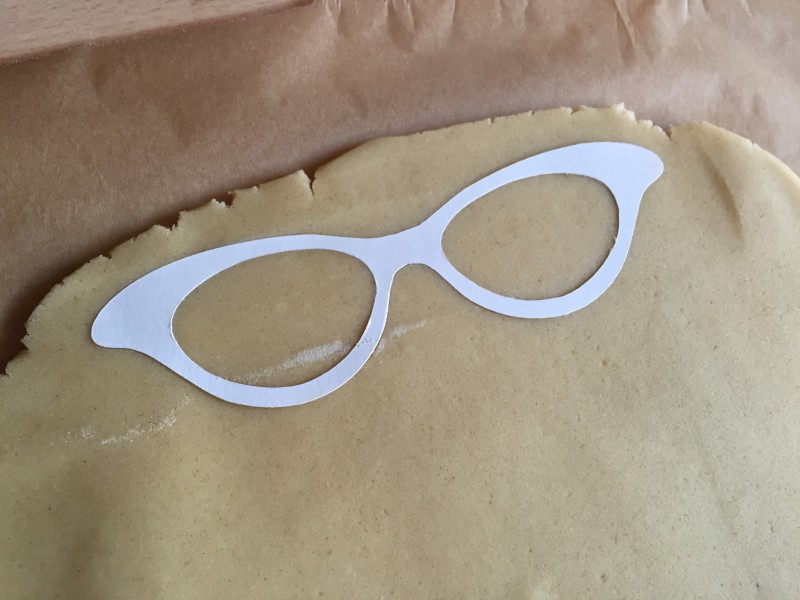
Roll out some more dough again, nice and thickly on a sheet of baking paper and put it in the fridge to chill.
When cutting dough from a template with a knife it’s best to have the dough firm and cold so it doesn’t pull out of shape whilst you cut.
Once the dough is firm, lay the template on the top and cut out the shape using a sharp knife.
Insert the skewers and set onto the baking trays.
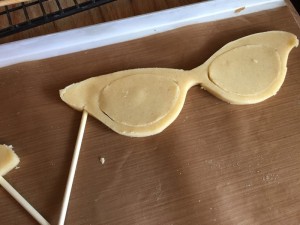
For the glasses cut out the centres of the eyes but leave them in the dough until you’ve inserted the skewer and set them onto the baking tray and then pull them out – this helps to keep the glasses in shape.
Bake the biscuits in the oven for 7-10 minutes until lightly golden. Let them cool for 10 minutes on the tray before transferring to a wire rack to cool completely.
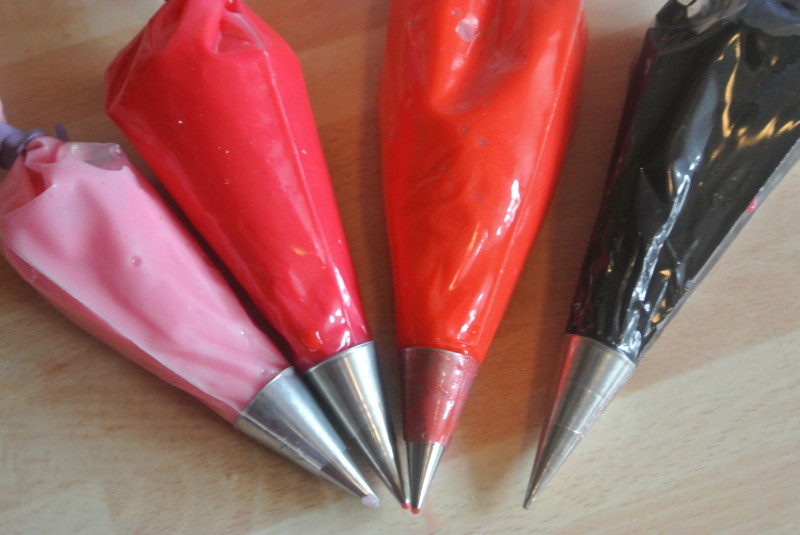
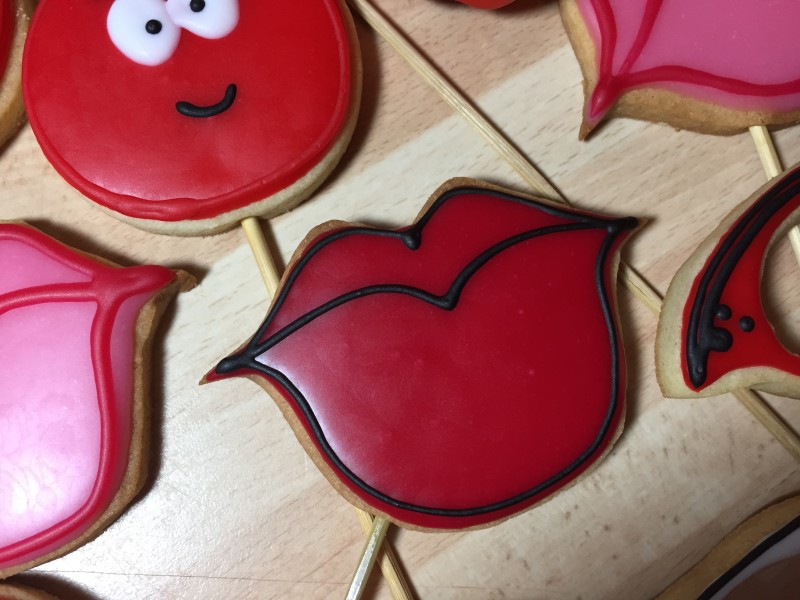
Now for the decorating. Mix up the glaze icing following the instructions and colour portions to suit your designs – I’m using red, bright pink, pale pink, black and white. Put them into disposable piping bags fitted with a piping nozzle (size 3 & 2 are ideal)
Now decorate away. Pipe the outline of the biscuit and then fill in the centre with the same icing. Work out and air bubbles or low spots with the tip of a cocktail stick.

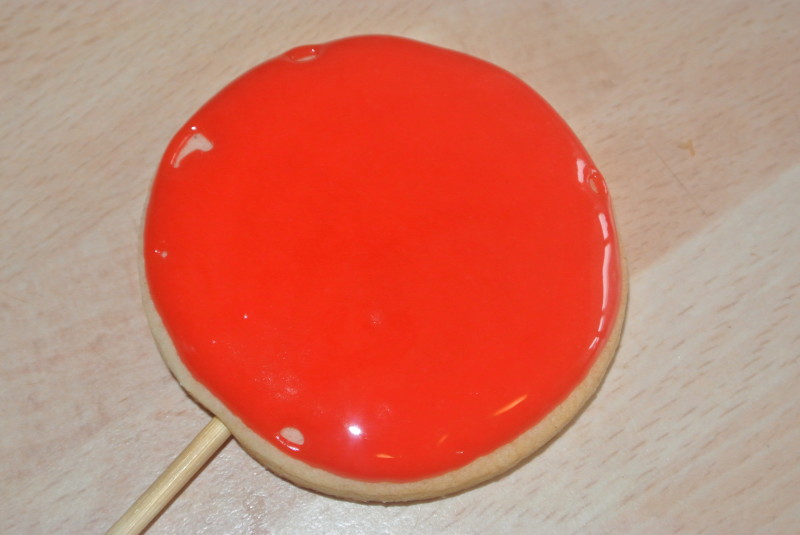
Set the base decoration to one side to allow to set. In a warm kitchen they take about 4 hours to set.
Pipe on the detail and set aside to dry again. (1-2hrs)
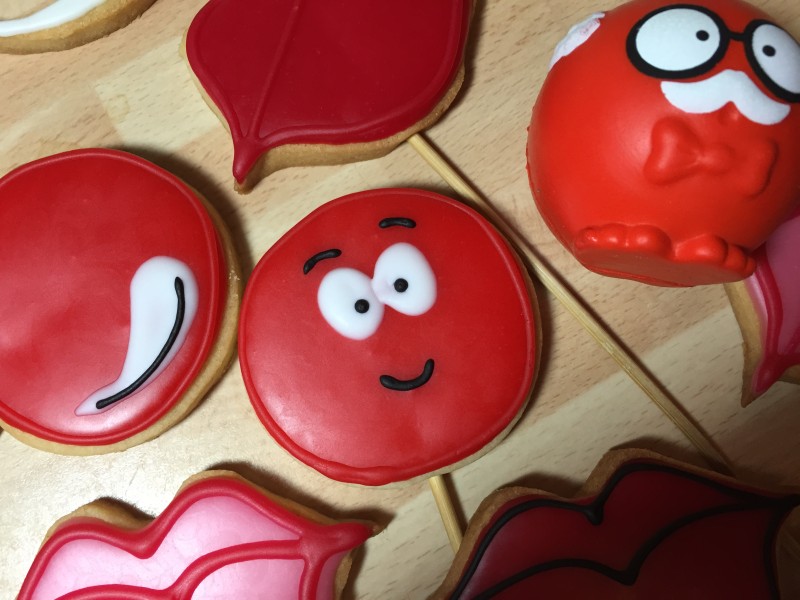
Now you’re good to go – photo booth session ahoy! Make your face funny for money and support Comic Relief!

Ruth Clemens, Baker Extraordinaire


One Response to Photo Booth Biscuits for Comic Relief