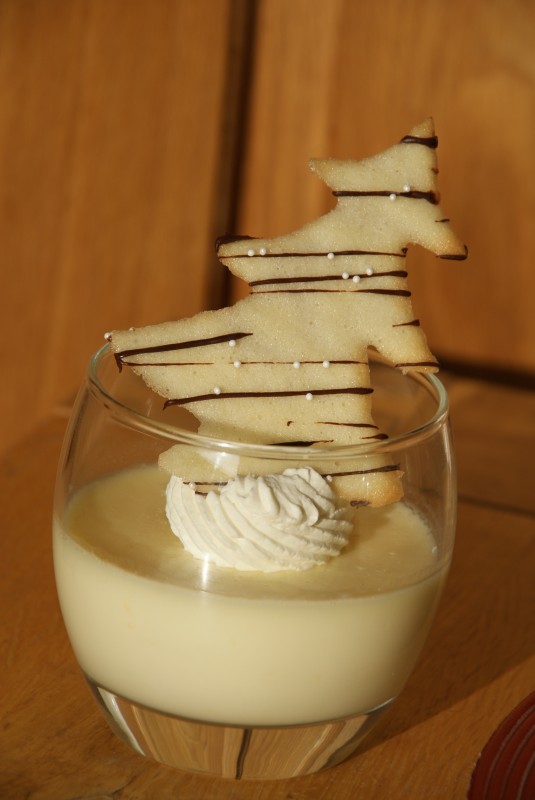
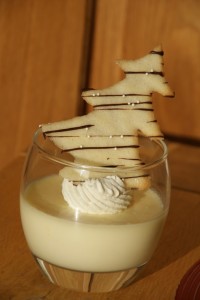
Day 9 and today is a posh desert – Lemon Posset with Christmas Tuiles!
Ingredients:
2 egg whites, large
120g caster sugar
60g plain flour
55g butter, melted and cooled
To decorate – 25g dark chocolate melted and mini pearl or silver dragees
Plus – one batch of Lemon Posset – recipe here
To start off with we’ll mix up the Tuile batter – it needs to sit for half an hour, then we’ll get the rest of the equipment ready.
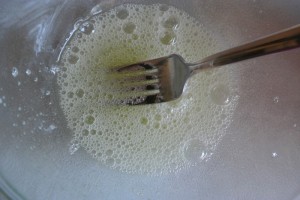
Place the egg whites into a bowl and break them up with a fork until they go bubbly.
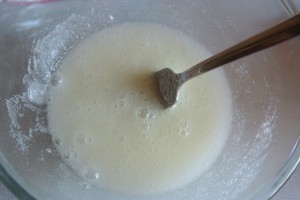
Add the caster sugar and whisk them together.
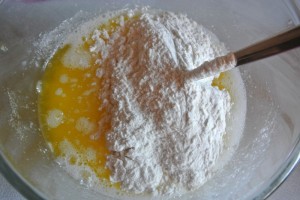
Now add the melted cooled butter and the flour and….you got it… mix it up again, making sure you work out any lumps!
Cover it with clingfilm and let it stand for half an hour.
Preheat the oven to 160c (fan)/180c/Gas Mark 4.
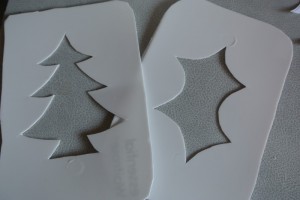
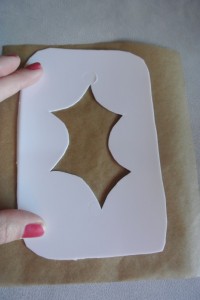
So we’ll need a template for creating the tuiles – you can print off my holly and christmas tree shapes here or make up your own design.
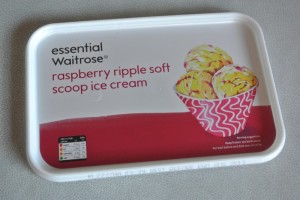
For each template you’ll need an old ice cream tub lid.
Cut off the rim so that it will sit flat.
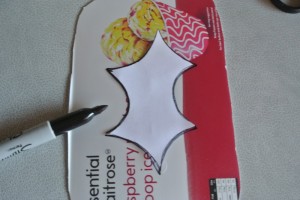
Mark out the design for your tuile on the lid and cut it out of the centre.
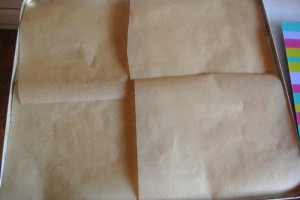
Now line two baking trays with baking paper. Cut each piece of lining paper into quarters.
Right, on with the Tuile making!
Take one piece of the lining paper and set the template on the top.
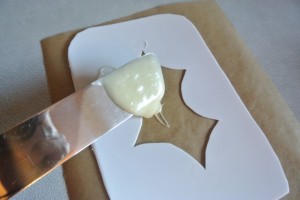
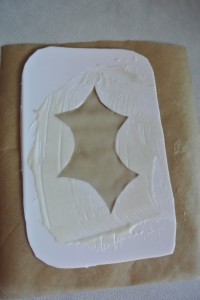
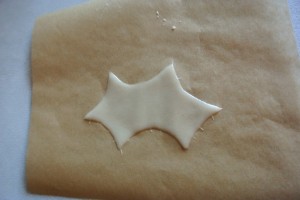
Taking a small amount of Tuile batter on a palette knife, spread it over the template. The batter should be thin and even. It’s a bit tricky to begin with but the batter will make you lots and you’ll get better and better with each one. You will need to hold the template down flat to the paper as you work. Working at the edge of your worksurface is easiest that way your hand holding the palette knife is over the open space and free to move, rather than being constricted by the work top.
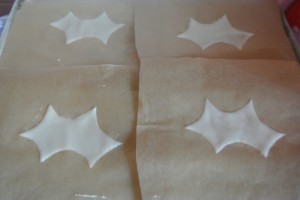
Carefully peel away the template which should leave you with a shaped tuile ready to bake. Don’t worry if the batter has leaked a little under the template – like I said your Tuiles will get better and better.
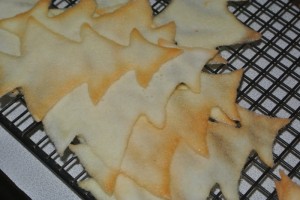
Set them back onto the baking tray and when you have four lined up on the tray they need to go into the oven to bake. Carefully into the oven – move those trays too fast and a little flutter of air can disrupt the lose light pieces of baking paper. Keep your eye on them as they do bake quickly – roughly 3-4 minutes for the holly and christmas tree shapes here, they should be golden brown around the edges.
Remove the tray from the oven, if you want to shape them then now’s the time. Lift one Tuile still on the baking paper from the tray at a time and gently shape around a rolling pin, holding in position for a short 30 seconds until they harden up.
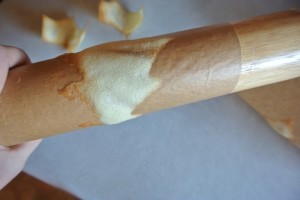
The heat from the tray will keep the others warm and pliable whilst you work. If they’ve hardened before you get to them pop them back in the oven for 30 seconds and they’ll soften up again for you.
Place the hardened Tuiles on a wire rack to cool completely and then release them carefully from their baking paper.
Tuiles will quickly absorb moisture and soften so store them in an airtight container between sheets of baking paper for upto 3 days until you’re ready to use them.
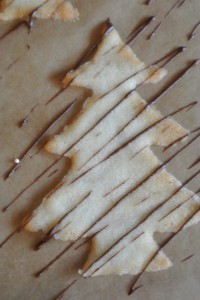
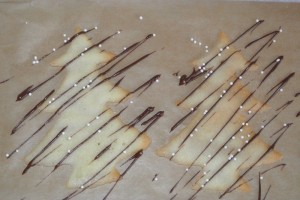
I’m drizzling mine with a little bit of chocolate and some mini pearl dragees.
Perfect for topping Lemon Posset for a posh Christmas desert
Ruth Clemens, Baker Extraordinaire









404 Responses to Day 9 – Christmas Tuiles