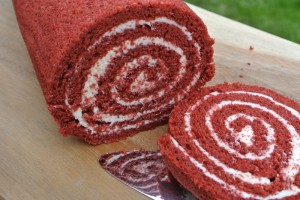
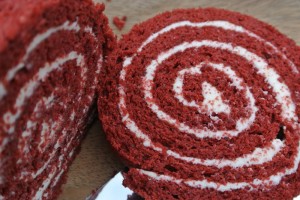
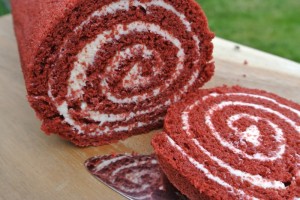
In keeping with all the Jubilee baking that’s about at the moment I bring you the Red Velvet Swiss Roll! Based on a Jaconde sponge which is flexible and perfect for shaping (and swiss rolling), this is my red velvet version filled with a white chocolate cream cheese frosting. Go on, you know you want to…
Ingredients:
4 egg whites, large
20g caster sugar
4 eggs (whole), large
160g icing sugar
160g ground almonds
25g plain flour
25g cocoa powder
Red gel paste colouring. I prefer Sugarflair Red Extra, it’s much more concentrated than a regular gel paste.
Frosting
45g butter, softened
135g cream cheese
270g icing sugar
plus 75g white chocolate, melted
Preheat the oven to 200c (fan)/220c/Gas Mark 6.
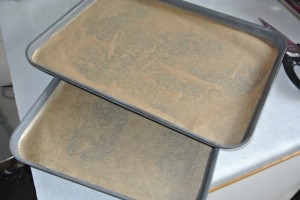
Prepare two baking trays, you need two tins the same size each with a shallow lip. Line the bases of both with baking paper. To help keep the paper down it’s best to grease the base of the tin first. (My trays measure 37 x 26cm)
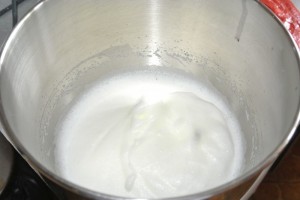
Begin with the 4 egg whites. Add them to a large bowl with the caster sugar, chuck them all in together.
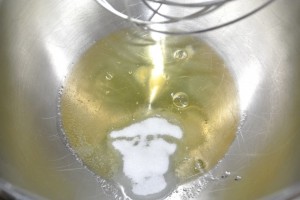
Whisk them up until they form stiff peaks.
Set this meringue mixture to one side.
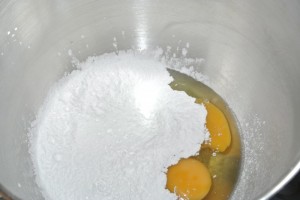
In another large bowl add the four large eggs and the icing sugar.
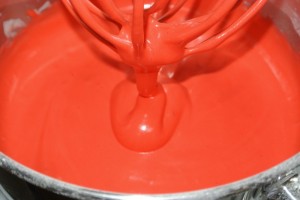
Now whisk this up hell for leather until it has gone very pale in colour, doubled in size and a lovely foamy thick consistency.
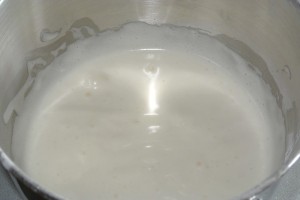
Add a blob of red gel paste colouring and beat it up, adding a little more colouring if you need to until it reaches a vibrant red.
Liquid colours won’t work for this as you have to add so much to turn it red you’ll end up with soup.
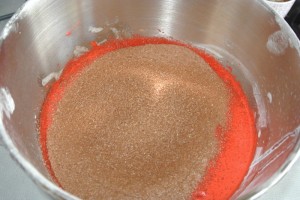
Now nicely red, sift in the plain flour, cocoa powder and ground almonds.
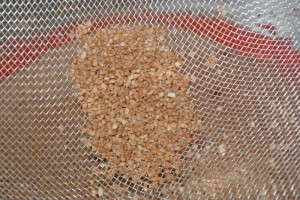
When you get to the end of the sifting you’ll have some hard grains of almonds left in the seive. Don’t tip these in, if they won’t go through the sieve just discard them.
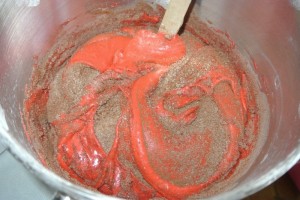
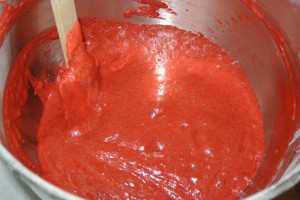
Fold the sifted ingredients into the red egg mixture, slowly does it so as not to knock too much air out. If you’re heavy handed try using a palette knife – it will force you to do it slowly! (can you tell I’m the heavy handed one?)
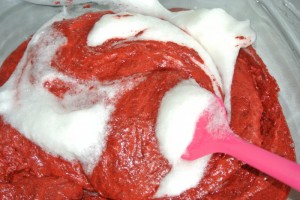
Once these are combined we need to start adding the meringue mixture. Add one third into the red mix and fold it in well.
This first third loosens the mix and makes it much easier to fold the remainder in.
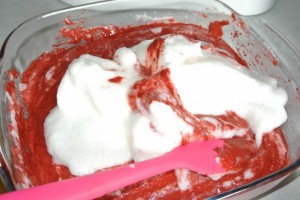
Once that’s in add in the remainder and fold in carefully – again use a palette knife for folding in if you’re in doubt. We need to try and keep as much air in as possible.
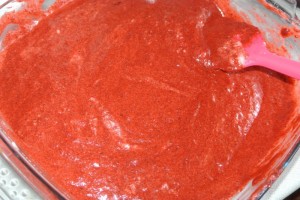
Fold until all traces of the egg white have disappeared.
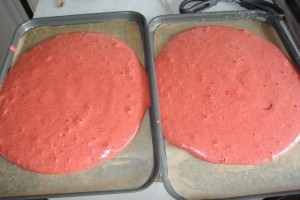
Pour the mixture onto the trays dividing it equally between the two.
Encourage the mixture to fill the trays by gently easing it into the corners, you can do this by tilting the tray. Try and level the mixture with your spatula or palette knife – it won’t self level in the oven. Don’t be tempted to knock the baking tray on the worksurface as it will just knock out the air!
Bake in the oven for 8 minutes.
Remove from the oven, run a knife around the edge of the cake to free it from the sides and allow to cool in the tin.
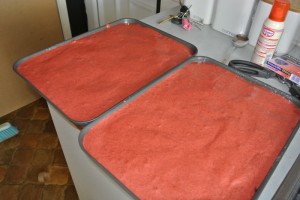
You would think by now I would be used to moving stuff out of the way before taking photos…obviously not, here we have; my keys, a random spoon, spray cake release, a pair of scissors and my antibiotics for a chest infection, plus the end of the broom in the kitchen – must pay more attention!
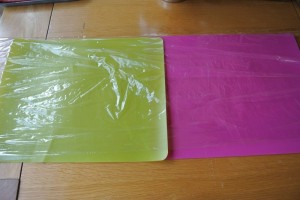
As soon as it’s cool wrap the whole tray in clingfilm to stop the cake from drying out.
Prepare the frosting – following the instructions here but you don’t need a full amount, here are the quantities you need:
45g butter, softened
135g cream cheese
270g icing sugar
plus 75g white chocolate, melted
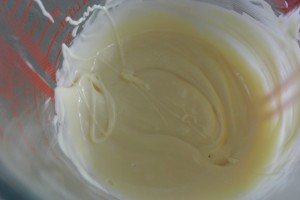
Now, melt the white chocolate and allow to cool slightly, you don’t want to add it to the cream cheese frosting while it’s still red hot.
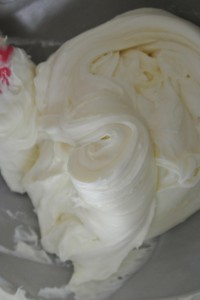
Once cooled add it to the cream cheese frosting and beat together until even.
If your frosting is too loose bob it into the fridge for half an hour to firm up and then it’s on to the assembly.
You need a fair bit of room, so if you kitchen is lacking in space (ie mine) decamp to the dining room table.
I’m working on a couple of flexible chopping boards to protect the table from my mess!
Place a sheet of clingfilm longer than the length of the two sheets of cake onto the surface.
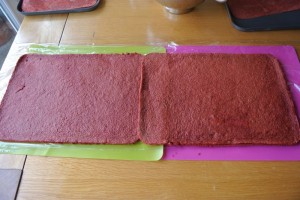
Carefully remove each of the sheets of cake from the trays and carefully peel away the baking paper from the base.
Set the sheets onto the clingfilm, overlapping the two by about 1cm to join them together. It’s best to keep the tops of the cake as the top because it’s an easier surface to add the frosting to.
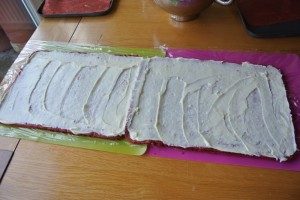
Cover the top completely with your frosting, spreading it out with a spatula. Don’t go mad with it if the frosting is too thick it will be way too rich to eat.
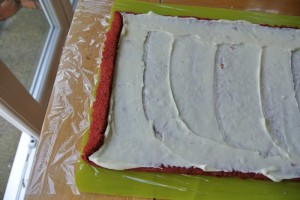
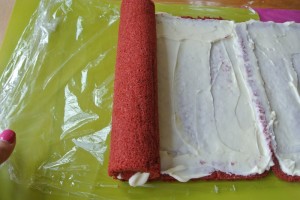
Now to start the rolling. At one end turn over a 1.5cm edge folding it right back onto the sheet of cake, it will crack but you need to do this for the rest to roll and to get the lovely spiral we’re after.
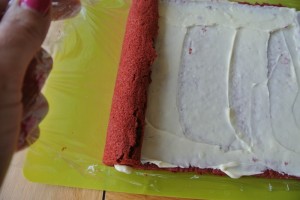
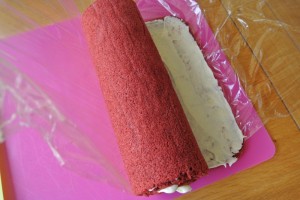
Now lifting the end of the clingfilm sheet start to roll up the sheet of cake. The clingfilm should do the work for you, you just need to guide it with your hands.
Roll it up….
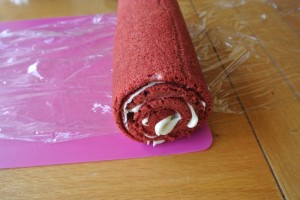
Roll it up….
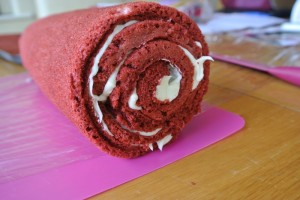
Ta Dah….!
Now wrap up the log with clingfilm, sealing it in tightly like a sausage and place it in the fridge to chill for half an hour. This sets the frosting and will keep the roll in a good round shape.
Remove from the fridge and trim the ends with a sharp knife to neaten and then serve.
If you’re not serving it right away keep it well wrapped in the fridge. Remove half an hour before serving to allow it to come back to room temperature.
I decided it didn’t need any more decoration but you could of course completely cover it with frosting, dust with icing sugar or drizzle with a water icing if you’d prefer!
Red Velvet Swiss Roll
Ruth Clemens, Baker Extraordinaire














Pingback: Cake Rolls to Make - Little Fingers